Getting started 1:51 video
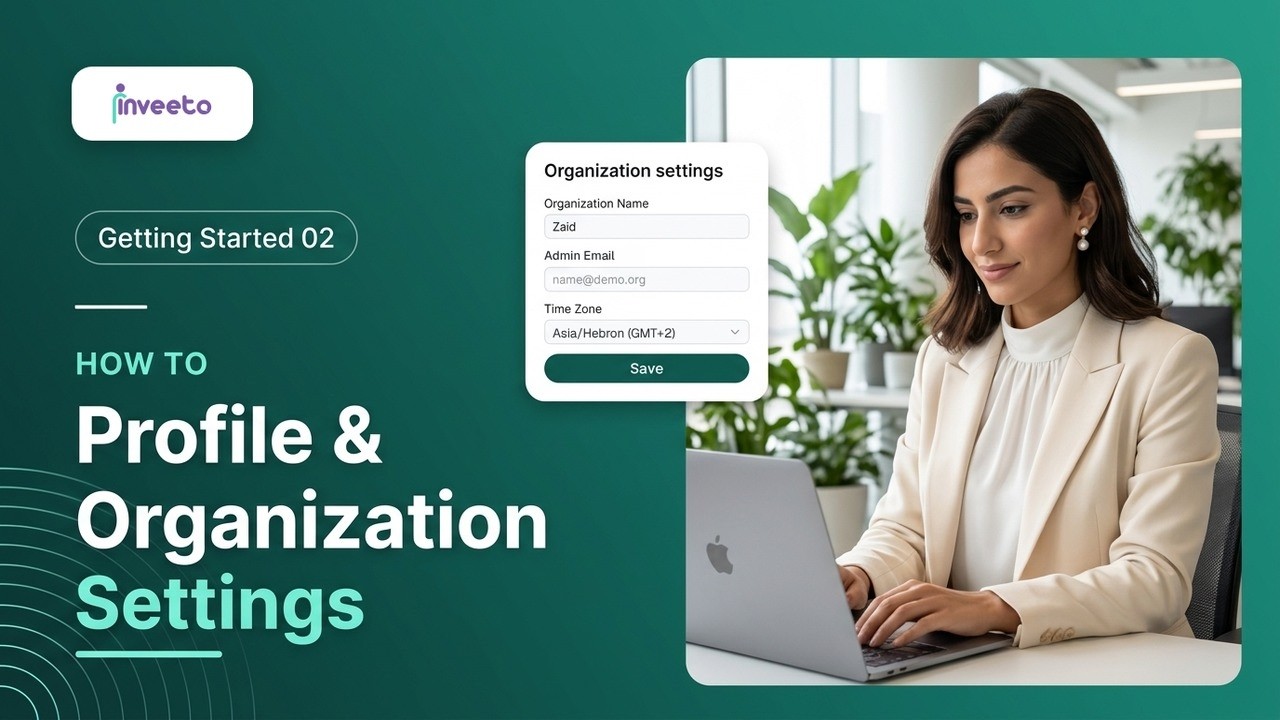
How to configure your profile and organization settings
Set the organization name, address, contact details and logo that appear on your invitations.
Step by step
-
Open Settings from the main menu.
-
On the Profile tab, type your organization name as you want it to appear on outgoing invitations.
-
Fill in the street name and number, city, and state or province.
-
Choose your country from the list, then add your PO box and main phone number.
-
Under contact information, enter your primary and secondary email addresses and your website.
-
Click Upload logo, choose the image file and click Done.
-
Click Save at the bottom of the page.