How to run registration and attendance for a conference
Invitations, registration, QR check-in and the attendance report, in one place.
Guide for event organizers
Running a conference means three lists that never agree: who was invited, who registered and who actually came. This guide shows how to keep all three in one place, from the first invitation to the attendance report.
What do you need before registration opens?
- Your guests in one address book, with names in two languages, such as Arabic and English, so nobody is invited twice.
- Tags for each group you invite, such as speakers, partners, media or students.
- The event itself: title, date, location and a description with attachments and an email banner.
- Up to five custom registration fields, if you need more than name and contact details.
How do guests register?
There are two routes, and most conferences use both. Open a public registration link and QR code for anyone who should be able to sign up. Send personal invitations to the people you choose by tag or guest type, such as VIP, speaker or guest. Invitations go out in Arabic or English, from your own domain through your SMTP server, Mailgun or Mailchimp (Mandrill).
How do you know who is coming?
Every reply is recorded against the guest: confirmed, tentative, apologized or no answer. Guests can add the event to Google or Outlook calendars, and if the time or place changes, the update reaches every invitee.
How does check-in work on the day?
- Your staff scan each guest’s QR code, or guests check themselves in.
- Walk-ins are registered on the spot and join the same list.
- The guest’s details appear at check-in, and passes can be printed.
- For multi-session conferences, a guest can be checked in up to five times, and a check-in can be undone.
What do you have when the event ends?
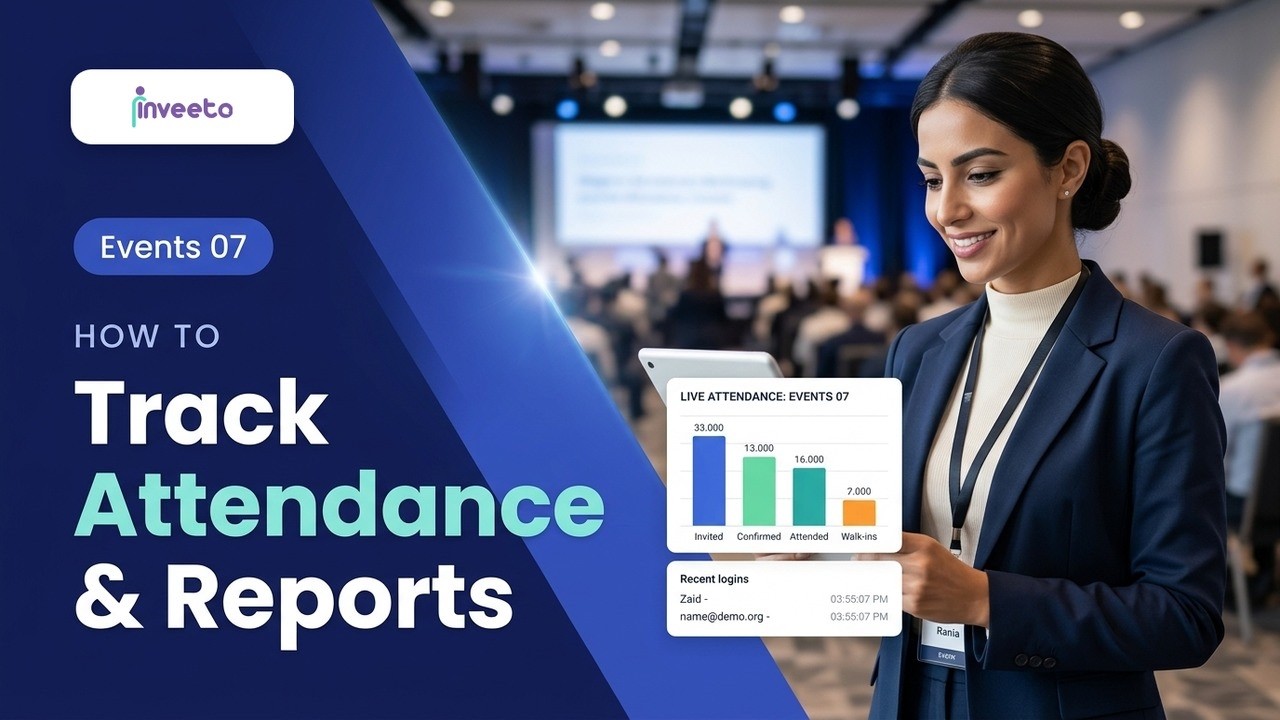
Attendance is live while guests arrive, so the invitation report and attendance summary are ready as soon as the doors close. Each guest’s participation is saved to their contact record, which means your next invitation list, or a thank-you campaign to everyone who attended, starts from facts rather than memory.
A checklist you can follow
- Import or add your contacts, and tag them by group.
- Create the event and its registration fields.
- Build the invitation list and choose each guest type.
- Open the public link and QR code, and send the invitations.
- Follow the replies and send updates if anything changes.
- Check guests in on the day and register walk-ins.
- Export the reports and thank the people who came.
Step-by-step videos

Bring your people together.
Set up your address book and send your first invitations today. If you'd like a walkthrough first, book a 30-minute demo with our team.
Free for 3 months. No credit card required.